Thursday, October 06, 2005
Build Your Own Coffee Table
Coffee Table:
A simple coffee table with elegant angles that you could easily build with minimal tools. A lively center piece for any room, this low table will hold chips and controllers--or books and tea with equal endefince.
Total: $41
or less if you choose the smaller top. You will have plenty left over of everything but wood, should you want to do another project.
Ingredients:
2 8 ft. 2x2's $4.38
1 4x4 sheet 15/32" plywood $13.78 add $0.75 for cut
or
1 2x4 sheet 15/32" plywood $7.88
1 2.5" drywall screws, lb. $4.47
1 varnish/stain (Polyshades), quart. $9.87
4 oz. wood glue $1.18
1 wood filler (natural color), tube $1.96
1 foam brush $0.57
1 100 grit sandpaper, pack $1.98
1 220 grit sandpaper, pack $1.98
1 stir stick FREE
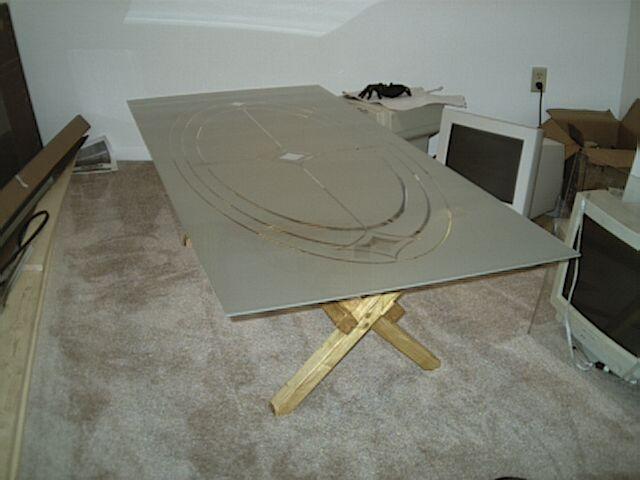
If you prefer a larger table, choose the 4x4 sheet of plywood and have them cut it at 32". Use the strip leftover as a shelf under the table. You can also express your creativity with a top made from oak plywood, glass (shown), plastic, bamboo, ice, etc.
Tools:
Saw: hand, circular, table, etc.
[if you have a table saw available, buy a 2x4 and cut it in half instead of using 2 2x2"s]
Screwdriver: preferably power, but hand will do
[if you have a drill, pre-drill the holes for the screws with a bit the size of the shank of the screw (smaller than the threads)]
Square (preferably a Speed-Square)
Pencil
Tape measure
Drop-cloth and rags
String
Directions:
First you will cut the boards. Cut one end of a 2x2 to a 45. Measure down 29 inches from the tip and cut another 45, creating a parallelogram. Repeat. Trim the angle off the 38 inch piece left over. Now you have turned an 8 foot 2x2 into:
2 29" parallelograms \-----------\
1 36.5 (or so) stick |----------------|
Repeat with the other 2x2, cutting it in the same way that you did the first.
Now you are ready to start connecting the wood.
Lay the parallelograms side by side with the angles sloping the same direction. Measure 13.75 inches from the tip of the top, using the square to make a mark all the way across each one.
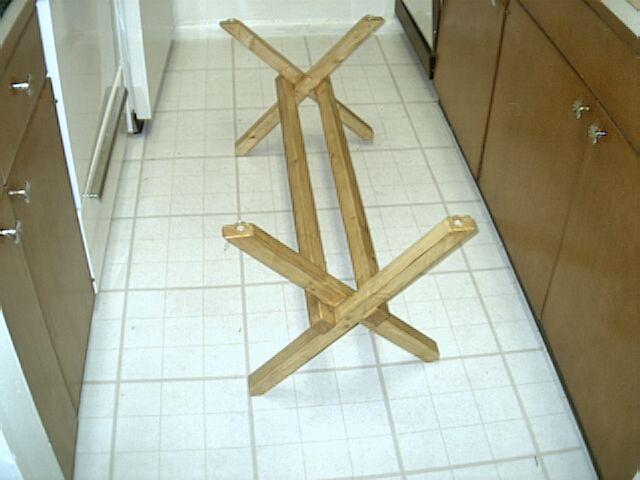
Take a pair and flip one over the other, creating an X, (complete with serifs--the top angles align , and the bottom angles do too). Line up the marks you made so the other board is on the bottom side of each mark. While holding these straight with your feet and the square, pre-drill two holes at the intersection (preferably), sink the screws. Get the screw heads to sink about 1/8" below the wood, so you can hide them with wood filler. If you have a larger drill, countersink the holes. Next, disassemble the two boards and put wood glue between them. Reassemble, being careful to keep them at 90 degrees with the square. Wipe off the extra glue and repeat with the other pair of parallelograms.
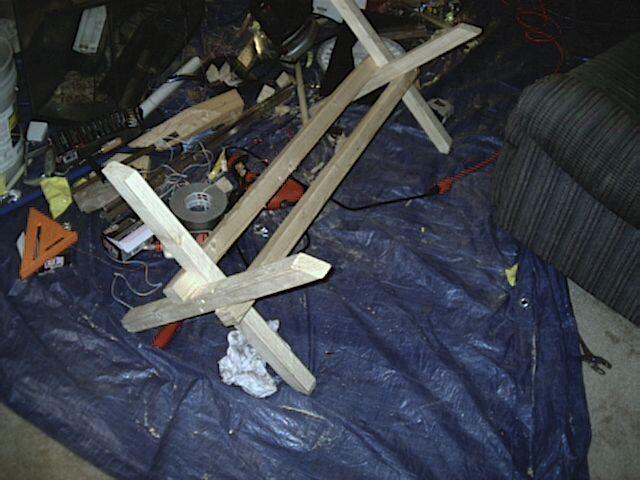
Now, place the two X's as far apart as the other boards are long. Position the long boards as shown. Be sure that angled ends are correct on both X's. Tightening a loop of string around the long boards, midway between the X's can help hold it all together, freeing up a few hands to fasten it. Make sure the X's are square with the long boards (all four legs on both sides). If the long boards bow together in the middle from the string, you may try loosening it, or using two strings. Once every thing is straight, pre-drill and screw the long boards to the X's--one screw into each member of the X at each end of each long board seems to be fine. Next, loosen the screws in the ends of the long boards, one set at a time and get glue in the joint, and tighten it back up, countersinking the screw heads, go on to the next set.
If using a wood top, center it on the base, screwing it down with 4 screws, glue, and sink the heads into the wood.
Once it is all glued and tightened up, fill the screw heads with wood filler, smoothing it off slightly higher than the wood--it sands down easily. While you let it dry for 2 hours, reward yourself with some supper or start sanding the top.
Which brings us to the sanding. Use the 100 grit sandpaper to bring all the surfaces to a basic level of smoothness, and then finish it off with the 220 grit. Sanding is somewhat tedious, and should be done outside, to avoid coating everything with fine dust, like I have in my house.
Once you have it as smooth as you want, wipe off all the dust and get ready to varnish it.
You want good ventilation, but not wind, and dropcloths. Stir up the varnish and put on two coats, following the directions on the can. You can wrap the brush in plastic and put it in the freezer between coats so it doesn't dry out. (or buy a couple, they're cheap). I have found that dusting it down with steel wool between coats just got steel wool powder on it, but maybe I was not letting it dry long enough. Maybe a "green scratchy" (normally used to scrub pots) would work well--haven't tried it. You can get away with not sanding it between coats.
congratulations, you have a table! Now if you only had some coffee to put on it.
Prices were gathered earlier this week from a branch of a nation-wide hardware store chain whose name starts with an "L" and rhymes with "rose". Prices may not total as perfectly in you area or in your store.
I tried to cut a piece of glass to put on the long boards, between the X's. Glass cutting is dangerous, so I took safety precautions: Safety glasses, leather glove, etc.
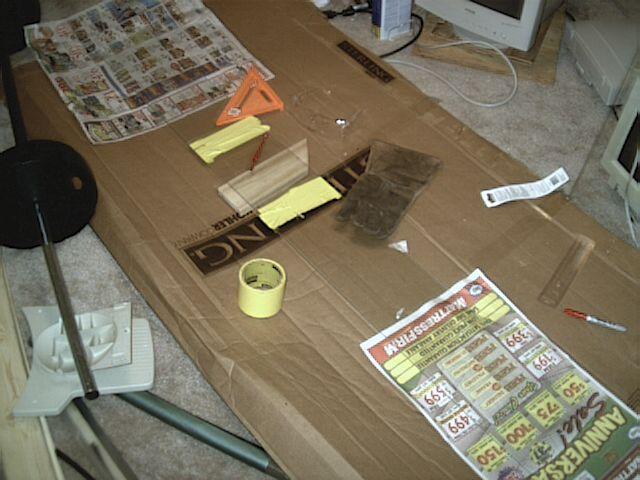
After scoring the glass, I tried to break, but it was especially flexible (my first ignored warning) and so I put a 2x4 on edge under it and bent the ends down until they touched the ground, and then it shattered:
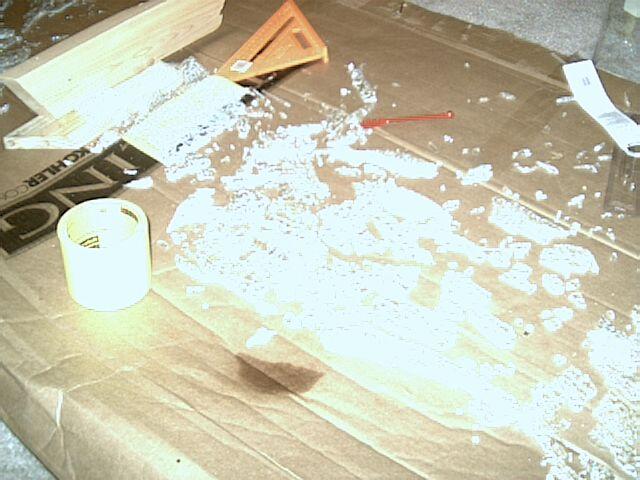
Glass is tempered by shrinking the outside layer, through rapid cooling, compressing the inner layers, giving it strength. However, when I broke the balance of forces, the inside was suddenly freed to expand, and it flew apart--mostly expanding lengthwise, not up into my face. Then for the next 20 minutes I could hear it still crackling and popping, like tiny kernels of popcorn in a hot kettle. Good news it that my large sheet is probably tempered as well, giving me extra strength and safety.
Comments:
<< Home

Ah, the wonders of tempered glass, isn't it great to see it shatter (as long as it didn't cost too much!!
delmer
Post a Comment
delmer
# posted by  : 8:52 AM, October 07, 2005
: 8:52 AM, October 07, 2005<< Home